
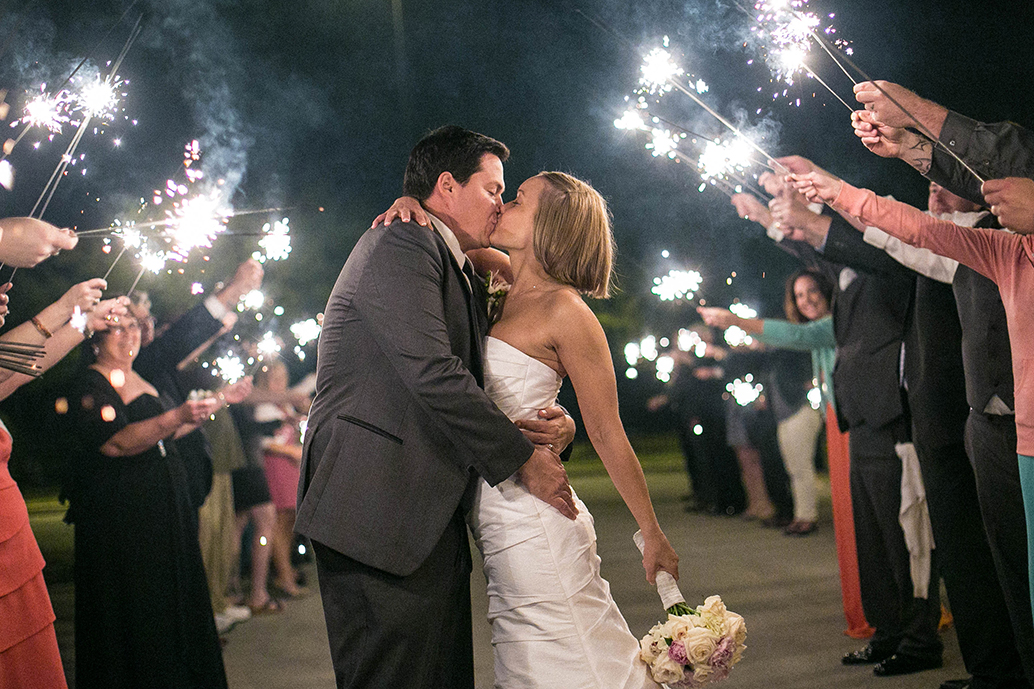
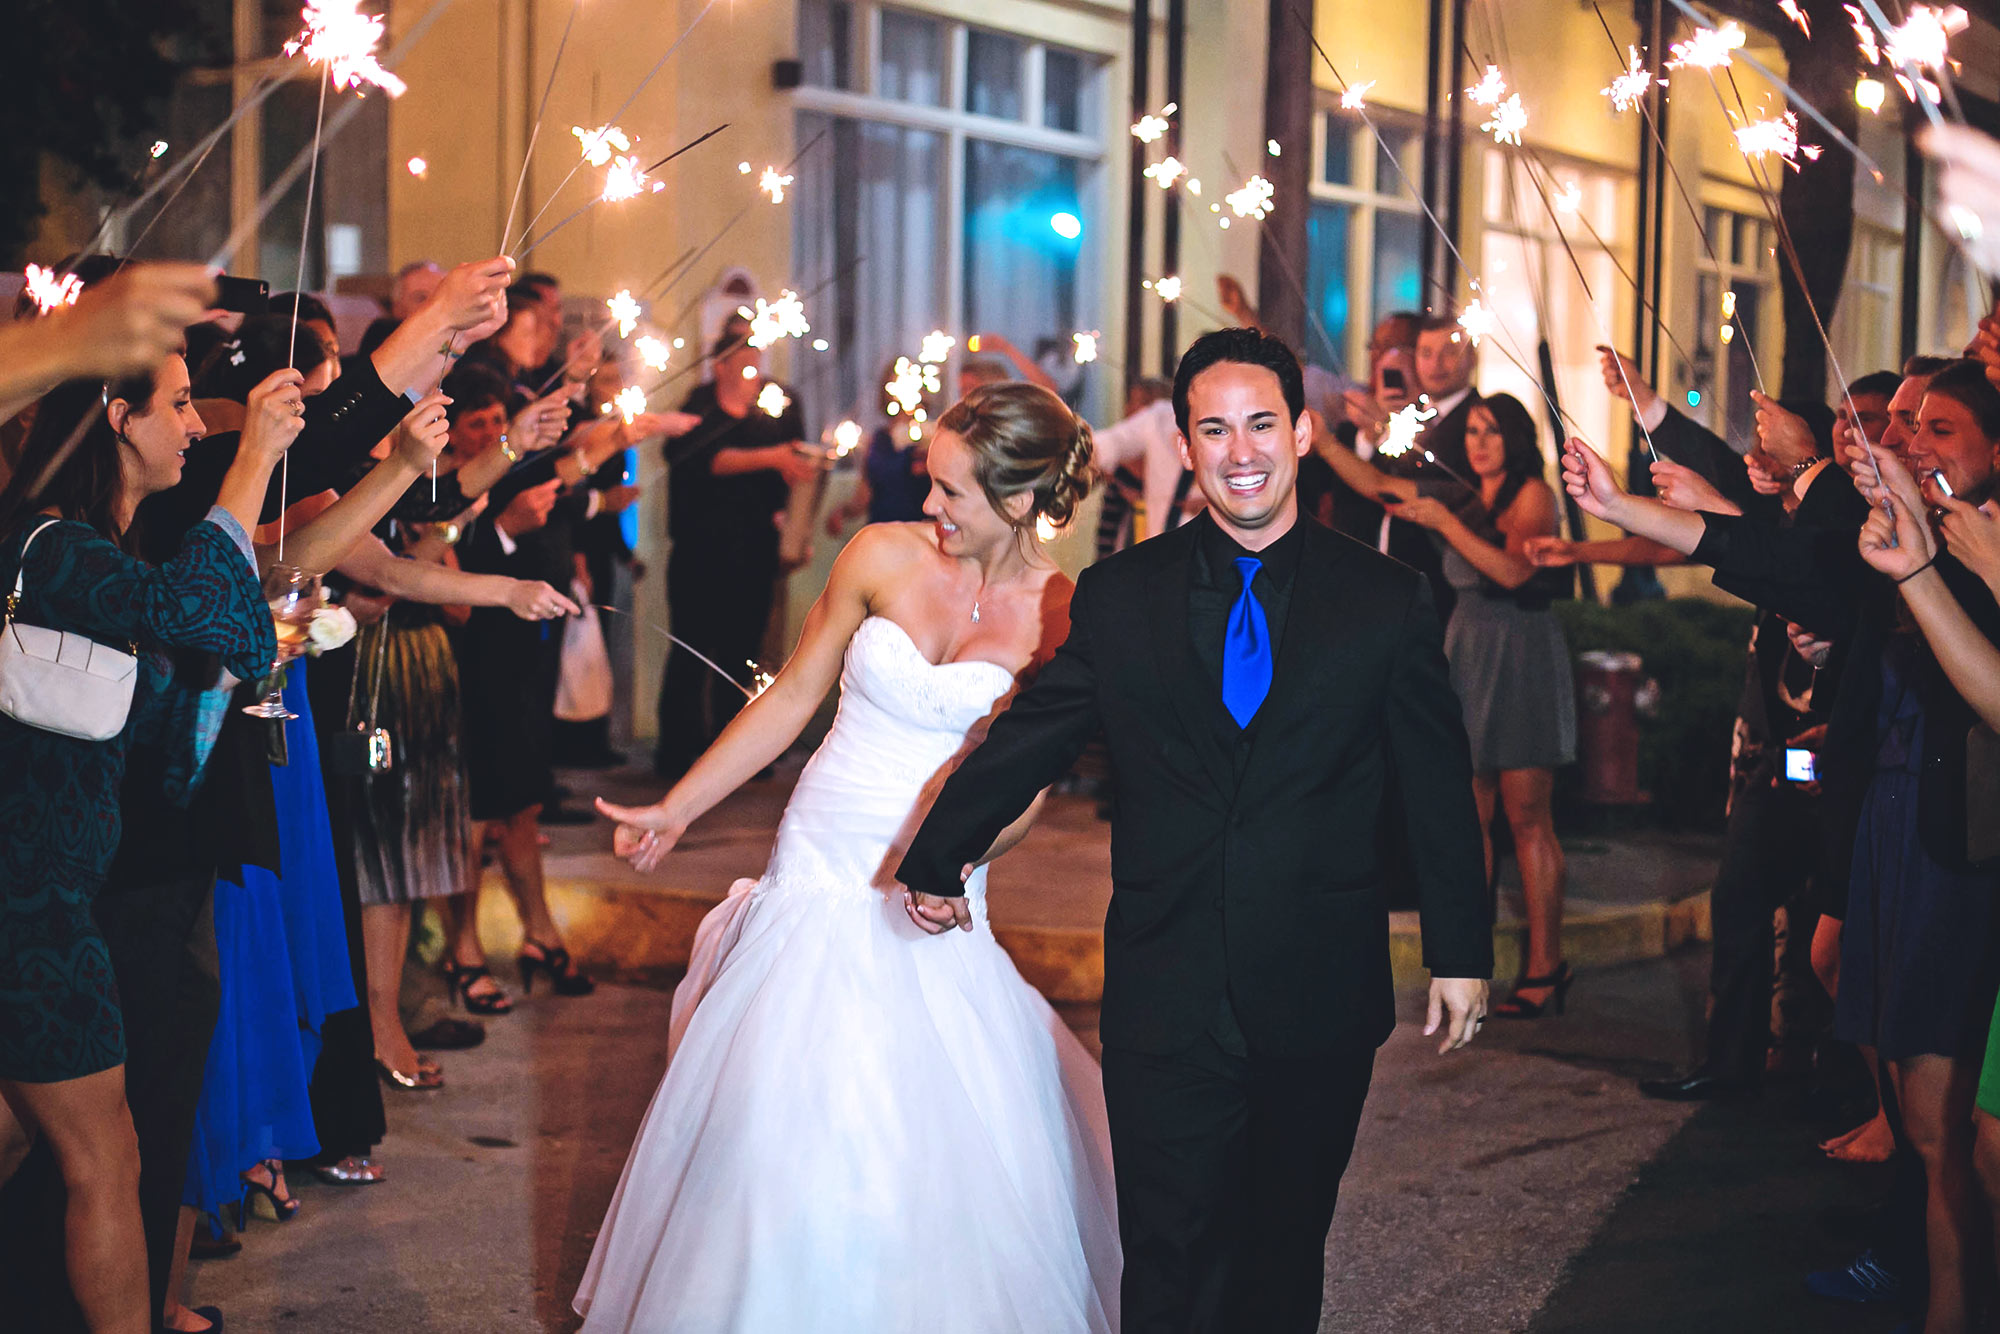
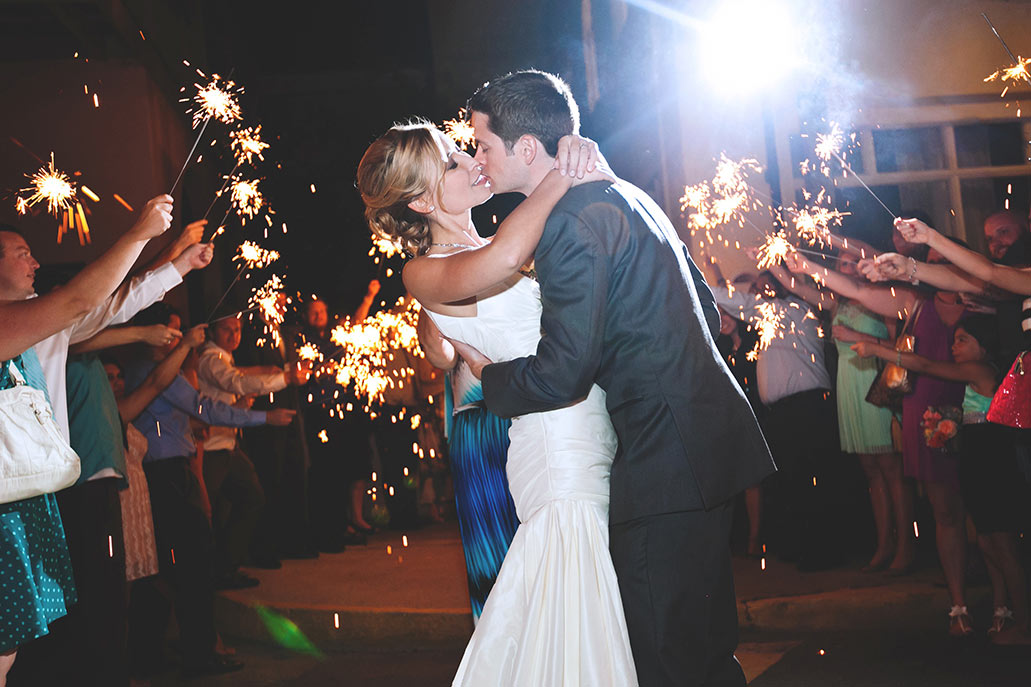
One of our favorite things about working at Superior Celebrations is getting to see the beautiful photos from customers’ events and celebrations. A particular favorite is seeing how photographers capture our wedding sparklers. Wedding sparklers lend a truly magical quality to wedding exits. The joyful, excited expressions of couples and guests alike are illuminated and enhanced by the sparkler light.
So how do you photograph a sparkler exit? As beautiful as the photos are, capturing the sparkler exit is a tricky business. Fortunately, we have some expert insight from one of our favorite photographers, Adam Szarmack. Adam is a photographer and videographer based in Jacksonville, Florida. He has an impressive portfolio and we encourage you to take a peek at it. Seeing how he incorporated Voldemort in one photo is worth the visit!
Admittedly, this post is a little more technical in nature, but Adam offers some great insight into different ways to use lighting at a wedding sparkler exit for incredible results!
3 Ways to Light a Wedding Sparkler Exit Shot
Techniques, tips and examples by Adam Szarmack
Method 1. Use ONLY the light from the sparklers

This is the simplest way to shoot the sparkler exit photo. Simply adjust your exposure and ISO settings according to the ambient light that is provided by the sparklers. For the best results, you will want a shutter speed that is fast enough to reduce camera shake (for me, usually about 1/100 or faster), but the tradeoff is that you will need a higher ISO sensitivity which can add unwanted grain to your photo.
Tips/Tricks:
If your camera has an “Auto-ISO” option this would be a good time to use it. In most cases, there is no time to do a test shot to find the right ISO level because the sparklers only last a few minutes and the bride and groom immediately start walking through. As long as you have a preset shutter that is fast enough to reduce camera shake, let the camera choose your ISO for you. Also, using your camera’s widest possible aperture will help keep ISO levels down while also providing a nice blurred background behind your subjects.
Pros:
- Easy setup
- No extra equipment needed
- No test shots needed
- Low probability for error
Cons:
- Cropped-sensor cameras will experience significant noise/graininess.
Method 2. Use an On-Camera flash with a bounce card

This option requires a Speedlite flash that has a built-in bounce card that can be put in the extended position. In most cases there will not be a ceiling over you to bounce the light from your flash, which is why you would pull out the bounce card. For the best results, you will want a shutter speed that is fast enough to reduce camera shake (for me, usually about 1/100 or faster). ISO levels will not need to be as high as option 1, but you will need to balance the amount of power you set your flash to with the level of ISO you choose (using ETTL or Auto-ISO in this situation is not recommended). Once the couple approaches, the flash reflecting off your bounce card will cast onto them and light them up.
Tips/Tricks:
Before the sparklers get lit, do a test shot on one of the guests (or an assistant) to get the balance of flash and ISO that you want.
Pros:
- Easy setup
- Lower levels of noise/grain
- Low probability of error
Cons:
- Sparklers may be washed out by flash
- Flat looking shadows on subjects due to direction of flash
Method 3. Use off-camera flashes triggered wirelessly

This is the most complex way to shoot the sparkler exit, but it can produce really creative results. For this method, you will need to be familiar with how to do off-camera flash photography. You can use as many flashes as you’d like, although for best results I have found that two works well (one key light and one edge/rim light). There is no rule on where to place your flashes, but in most cases try to have your key light come in at the subjects from an angle.
For the rim light, you can either place it at the end of the sparkler line or slightly off to the side behind the line of guests. Having the flash seen in the shot can look cool but you can also try to compose your image to have it hidden as well. This is all up to your preference.
Trips/Tricks:
If your flashes do not have a fast recycle time, trying bumping up your ISO a little more than you normally would and use lower flash power so you can get multiple shots in a row.
Pros:
- Highly creative looking
- Low grain/noise
Cons:
- Highly technical with higher probability for error
- Sparklers can be washed out by flash
Guest post, written by Adam Szarmack. For more posts by Adam visit his website!

Thank you so much, Adam, for tackling this subject for us! These takeaway tips are critical for getting the best photo of one of our absolute favorite products.
THANK YOU SO MUCH! this is great information!